
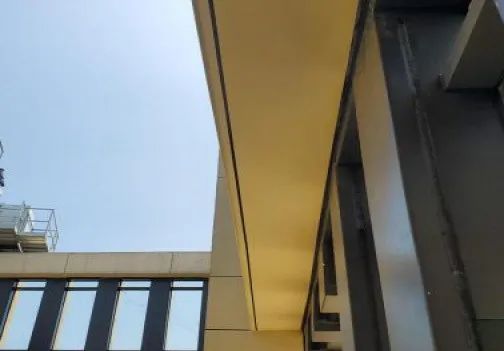
依据GB50210-2018《建筑装饰装修工程质量验收规范》4.2.10规定:“有排水要求的部位应做滴水线(槽),滴水线(槽)应整齐顺直,滴水线应内高外低,滴水槽的宽度和深度均不小于10毫米。”在外挑檐口、阳台外侧、屋面葡萄架等部位,滴水槽和滴水线可任选一种做法。那么,滴水线(槽)该如何施工呢?本文以中建五局创优工程示例,以供大家参考实施。
滴水线
滴水槽
1滴水线
施工工序:基层清理→粘贴鹰嘴滴水线→涂刷界面剂→批两道外墙专用防水腻子→砂纸打磨→刷两道外墙防水涂料。
① 首先用刮刀将基层清理干净;② 用胶水将专用外墙带网鹰嘴滴水线条粘贴在基层上;③ 用专用界面剂将基层整个涂刷一遍;④ 待界面剂吹晒干后,批两道外墙专用防水腻子;⑤ 等腻子吹晒干后,用专用砂纸对比表面进行打磨;⑥ 打磨完成后,刷两道米色的专用外墙防水涂料。
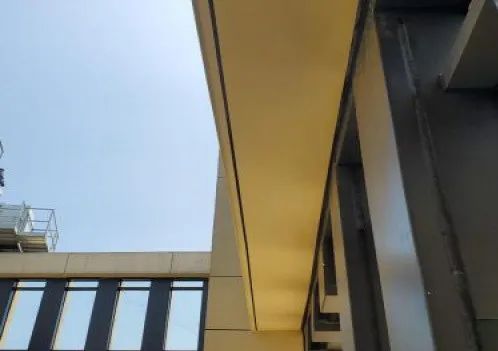
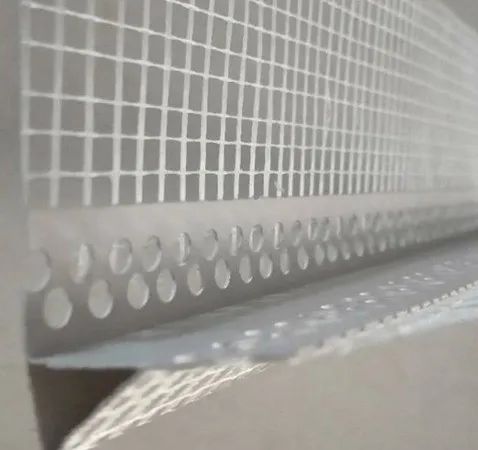 成品鹰嘴滴水线条
 施工过程
施工过程
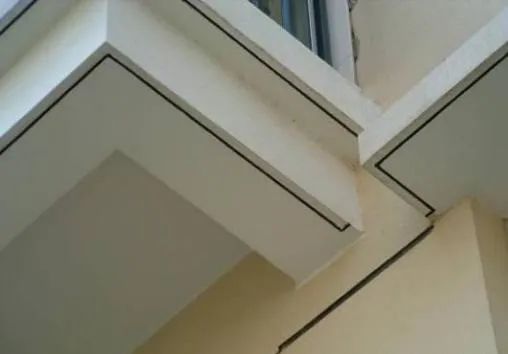
 成型效果
成型效果
2滴水槽
施工工序:基面清理→滴水槽位置确定→弹线→粘贴滴水槽→粉刷涂料→清理。
① 窗台、窗楣、檐口、雨蓬、阳台、压顶、腰线等部位应做滴水槽;② 滴水槽应采用PVC分格条,离外边沿尺寸为30mm~40mm,距两端墙面50mm处应断开引出做截水处理;③ 平接及转角部位处应裁割成45°拼接,表面与粉刷层平齐;④ 外墙防水腻子:批两道外墙防水腻子;⑤ 涂刷外墙涂料:为保证涂料界线顺直、清晰,在腻子及涂料涂刷前应粘贴美纹纸保护,防止交叉污染;
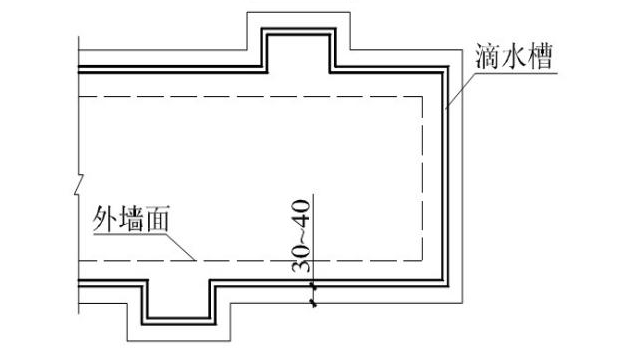
檐口滴水槽设置示意
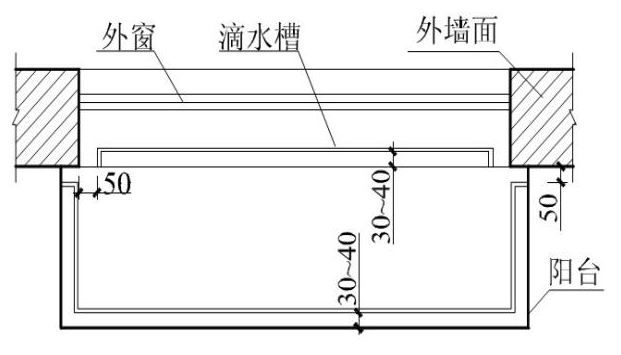
阳台、雨篷滴水槽示意

外窗滴水槽设置示意
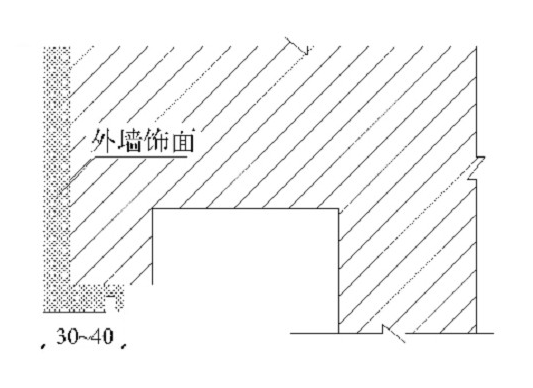
外墙悬挑部位滴水槽设置示意

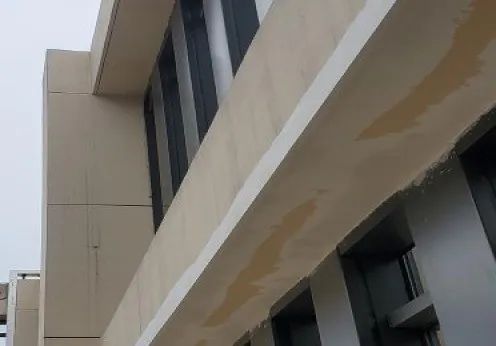
成型效果